Planning a Small-Group Nature Hike
_______
Lessons Learned from a Recent Hike
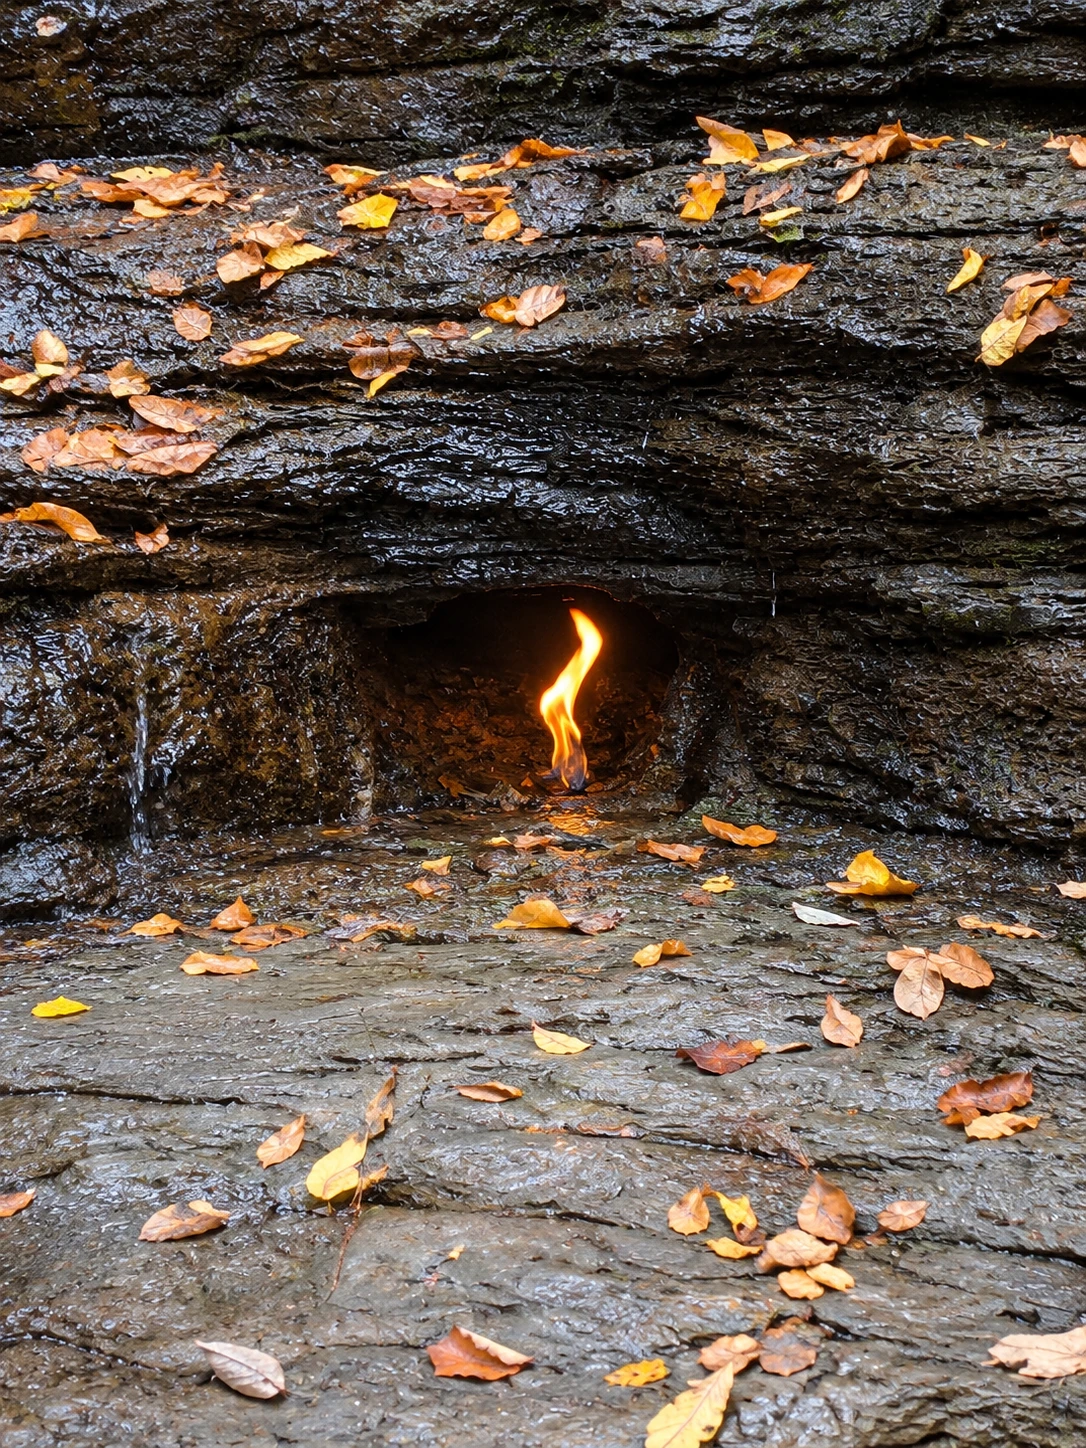
I am writing this guide after a recent hike that taught me how much more we can observe and learn when we share the experience with others. Last year I took the same hike by myself. It allowed me to observe the surroundings and general layout of the park. Additionally, I saw the amazing beauty and uniqueness of Chestnut Ridge Park in Western, New York State. I also noted the round-trip hiking time, terrain, and topography. This autumn I took the same hike again with a friend. It was a small group of two with an itinerary in my head planned by memory and experience. Furthermore, I knew I wanted to have a bird and plant ID app downloaded. During my first hike, I heard birds and observed plants I could not identify. During the more recent hike the fauna and flora seemed more vivid and memorable as I had become better prepared and had a fellow citizen scientist (my friend) there to discuss this with. This is what inspired me to write this guide to share.
So, let’s begin. Planning a small-group nature hike is mostly a matter of decisions made before anyone reaches the trailhead: where you go, how many people come, what they are asked to do, and what you want them to understand when they leave. A hike built around those decisions protects the places it visits and gives participants something to take home. This guide covers the planning from route selection to reflection, and ends with a sample two-hour itinerary for leaders who have never organized a group adventure.
Small-Group Nature Hike: Conservation, Education, and Outdoor Stewardship
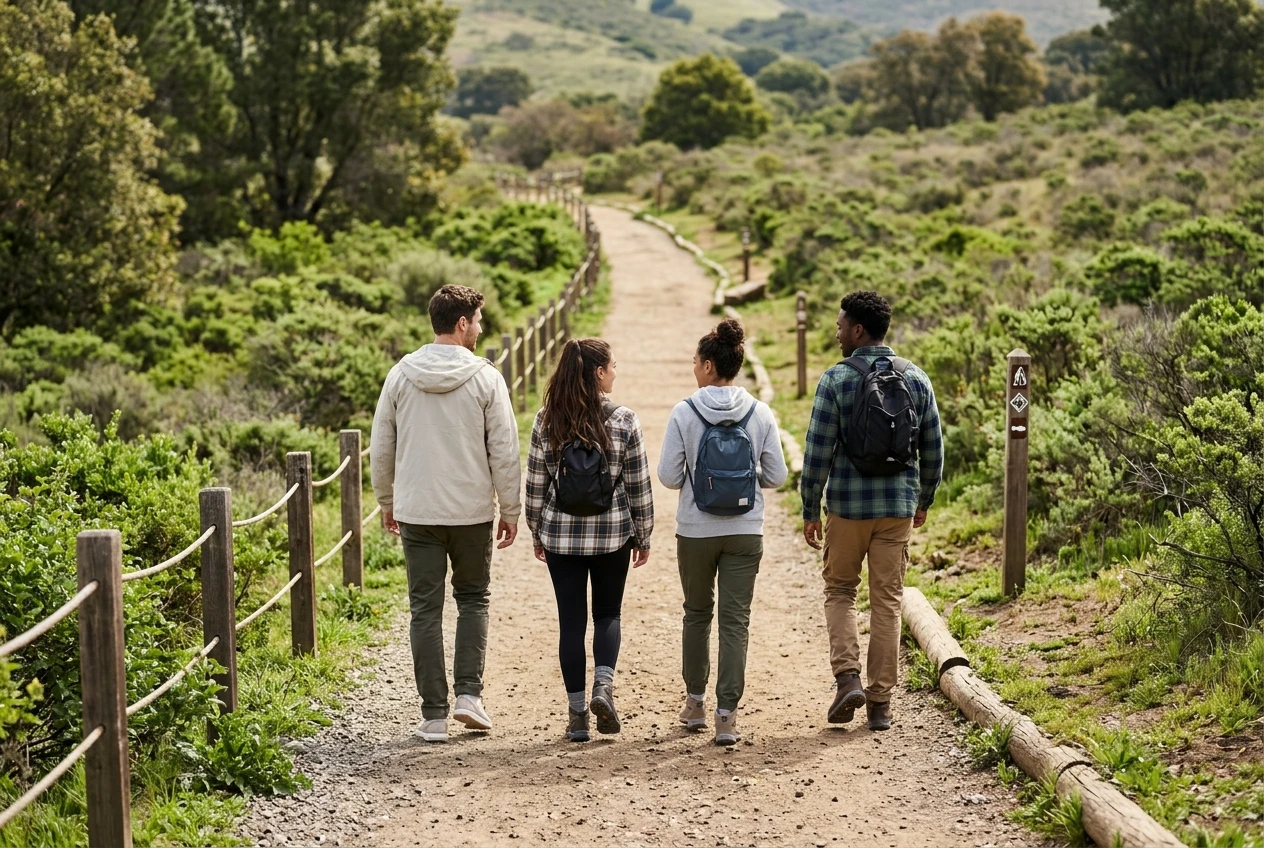
First and foremost, a small group changes what a hike can do. I define a small group as 4-7 people. Everyone can hear the leader without raised voices, wildlife is less likely to be disturbed, and participants can ask questions and point things out. A large group, what I would define as eight or more people, tends to trample trail edges, talk over birdsong, and leave the people at the back with no idea what the front is looking at.
Decide on a purpose before you choose a date. For example, a hike can introduce children to local ecosystems, give a community group a look at a habitat it supports, or let a class see the species it has been studying. One clear purpose, such as “learn to read signs of animal activity” or “understand how a wetland filters water,” shapes every other choice, from route length to the stops you plan and enhances what is learned once the hike is done.
A conscious decision to be good stewards is the goal from the start. Participants should leave the trail in the condition they found it, and ideally with a better understanding of why that matters. The hike is a short lesson in how people can use a natural area with a gentle respect for the land.
Choosing and Planning Your Hiking Route
Second, route choice is the most important safety and conservation decision you will make. Pick a trail that suits the slowest and youngest participants, not the fittest. A short loop on a well-maintained path almost always produces a better hike than an ambitious route, because people have energy left to look around. Knowing the expected round-trip time helps participants understand what to expect.
Check these points before you commit:
- Access rules. Parks, preserves, and refuges often set limits on group size, require permits for organized groups, or close sections seasonally. Contact the park office and ask what applies to groups. Also checking the time the park closes in advance is highly recommended.
- Sensitive seasons. Nesting, breeding, and pupping seasons can make parts of a trail unsuitable for visits. Ask the park office, rangers, or a local wildlife agency for information on which areas to avoid and when.
- Trail condition and length. Walk the route beforehand if you can, or read recent trail reports as I mentioned above. Note stream crossings, steep sections, shade, and places to stop where the group can gather off the path.
- Weather and daylight. Set a turnaround time and agree that you will use it. Have a plan for heat, cold, storms, and early dusk. This is especially important in Northeast regions where frigid weather and shorter days occur in Autumn and Winter.
- Facilities and exits. Know where the nearest restroom, parking area, and shortcut back to the start are located. Advising all group members of this before the start of the hike ensures that everyone is prepared.
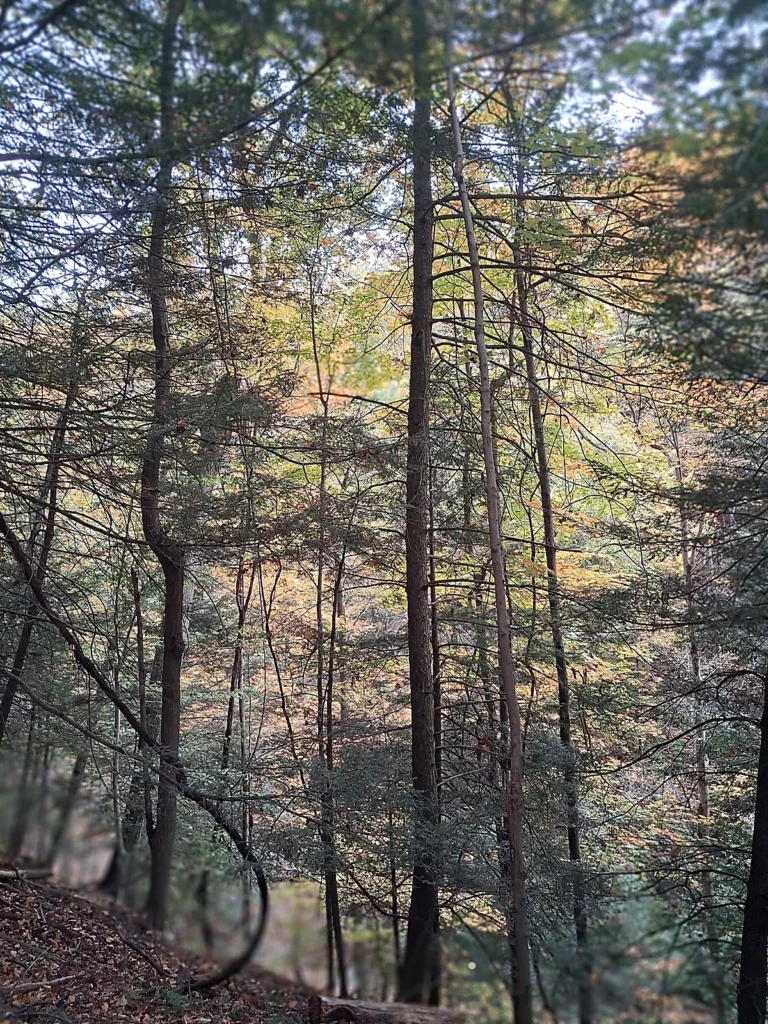
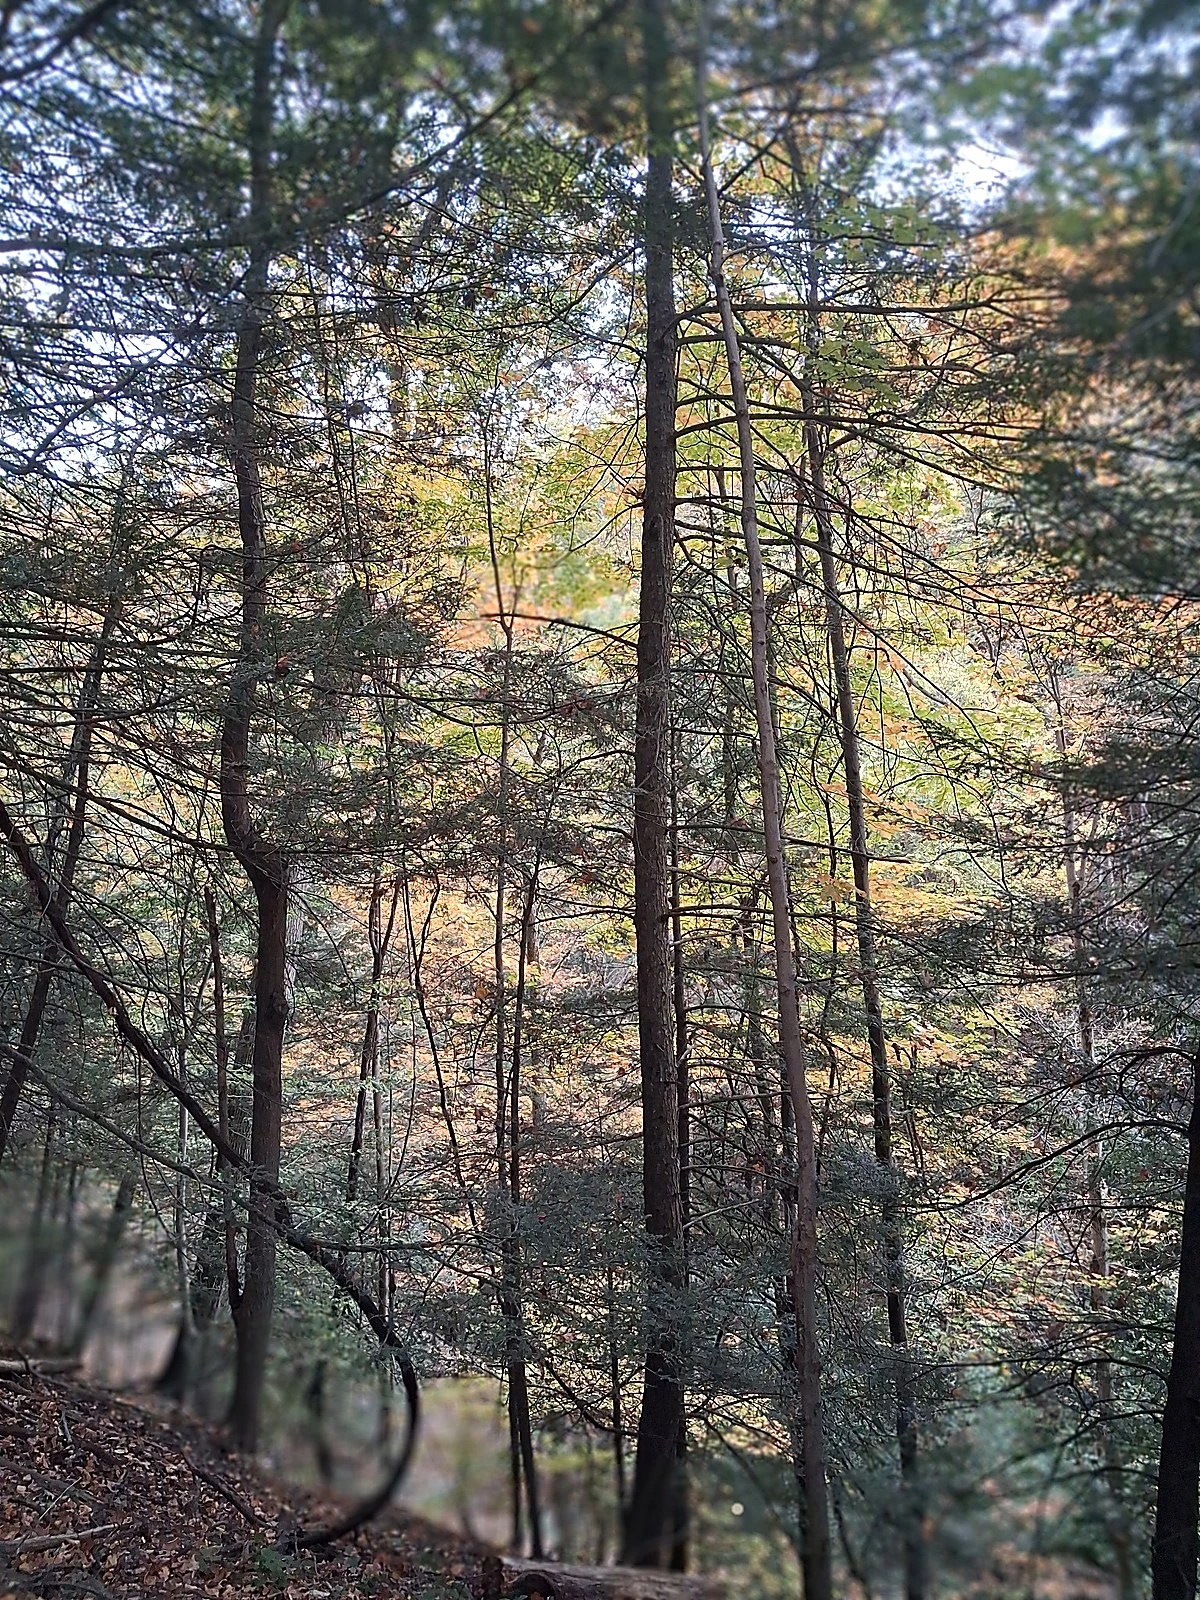
Choose a route with variety in a short distance: a stream edge, a wooded stretch, an open meadow. In my recent hike there was an old growth forest, ravine, and also an open meadow to enjoy. Each habitat gives you something different to observe and talk about, and a route with those changes requires fewer stops that feel forced.
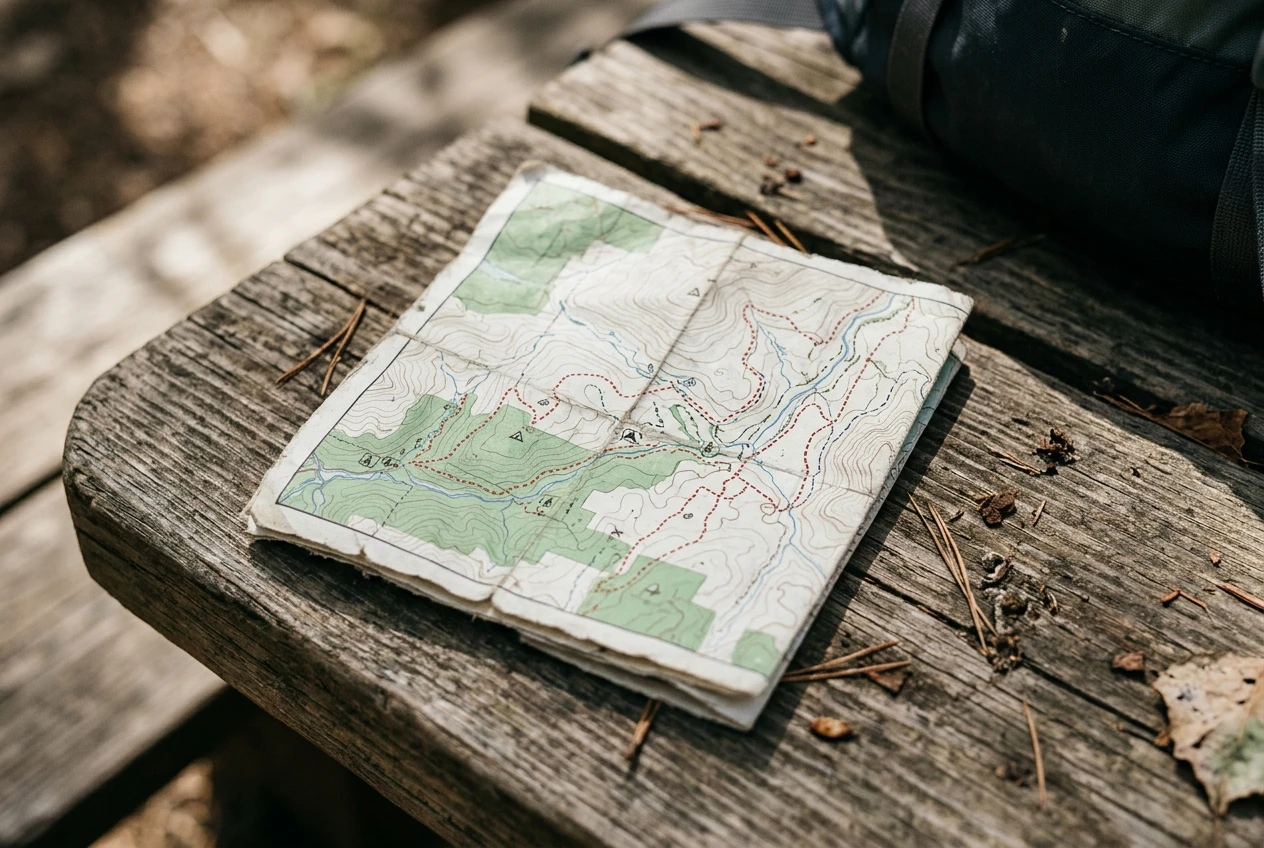
Write a simple plan and share it with someone who is not on the hike for objective feedback. It should list the route, the expected start and finish times, the number of participants, and who to call if the group is late. Carry a first aid kit, water, a charged phone, and a paper map, since phone coverage on trails is often unreliable.
Incorporating Conservation Education
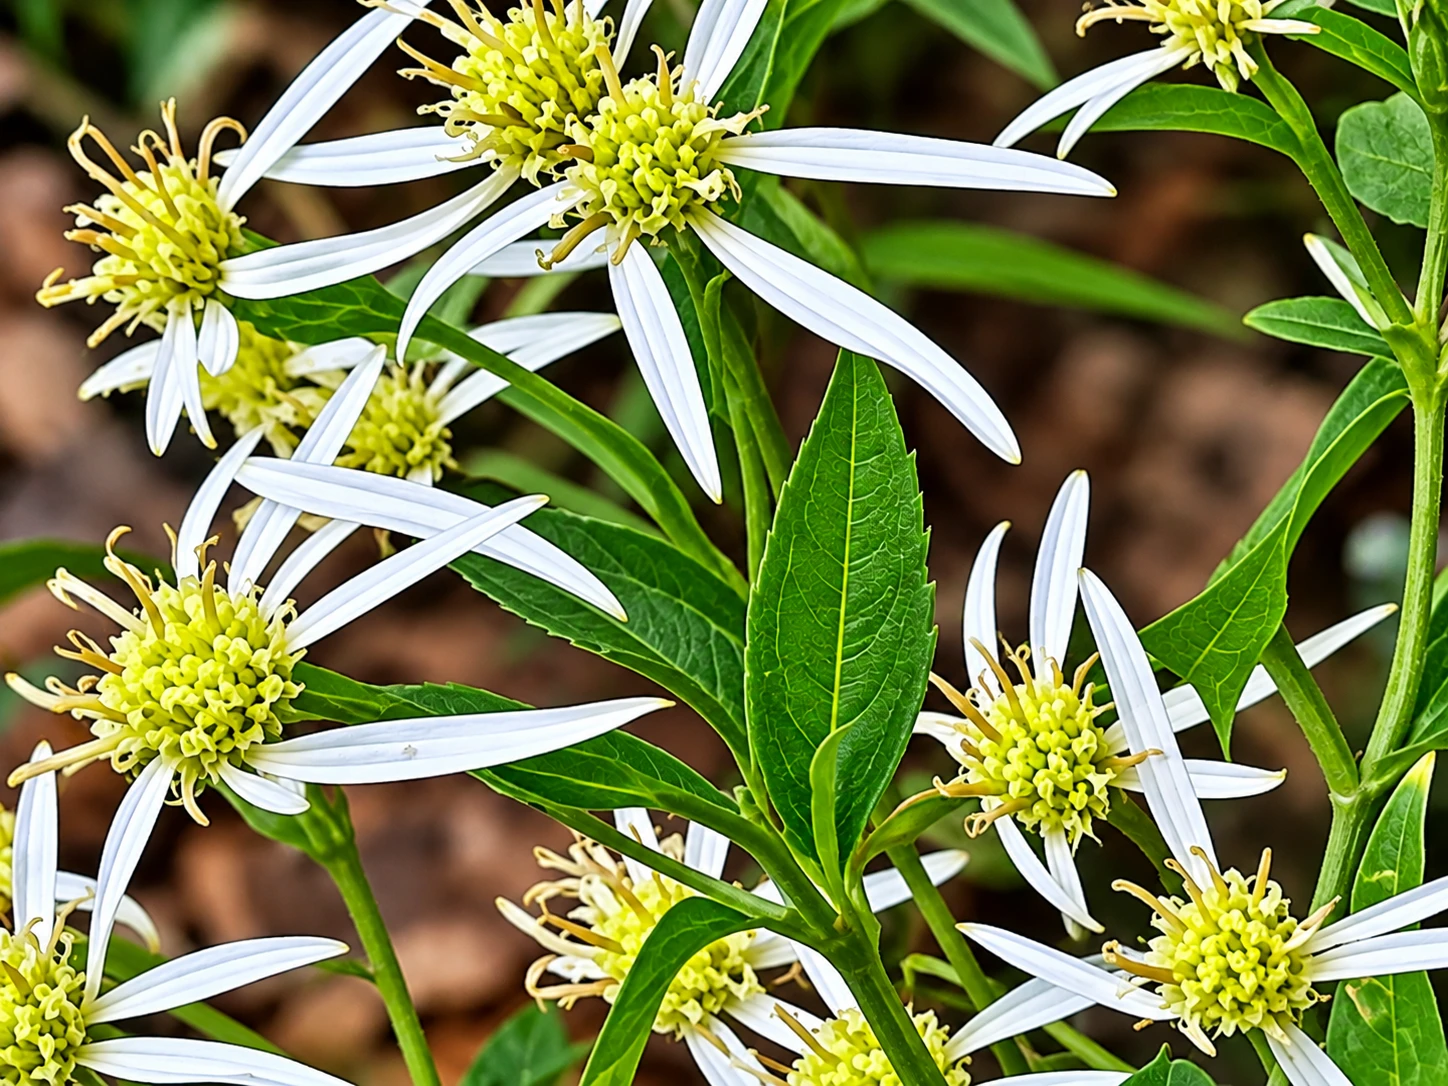
Third, education works best when it comes from what the group is looking at, not from a lecture delivered at the trailhead. Plan three to five stops along the route, each tied to one idea that the surroundings can demonstrate. During my recent hike, our five observation stops often led to insightful discoveries. For example, I used one of these times to ID the plant below and discuss it with my friend.
Good stop topics include:
- How a dead tree supports insects, birds, and fungi
- Why native plants matter to local pollinators and caterpillars
- How a stream’s condition reflects what happens upstream
- What animal tracks, scat, and feeding signs reveal about who lives there
- How invasive species change a habitat
Ask questions at each stop before giving answers. “What do you notice about the plants along the water?” gets people looking closely, and their observations give you a way into the explanation. Keep each stop to a few minutes so the group stays engaged and keeps moving.
Match the material to the audience. Children respond to hands-on tasks such as counting kinds of leaves or noticing their shape, listening for different bird calls, or sketching a feature of the habitat. Adults often prefer a connection to local issues, such as why a particular wetland is protected or what land use nearby means for wildlife. If you teach regularly, the principles in conservation education curriculum development can help you turn a series of hikes into a coherent set of lessons.
I used the iNaturalist app which is an excellent resource to identify the plant below. Only share facts you are sure of. If a participant asks about a species you cannot identify, say so, photograph it or note its features, and look it up using an app onsite or afterward. That models how real field study works, and it keeps inaccurate information out of the learning circle of the group.
Preparing Participants for a Responsible Hike
Fourth, send participants a short information sheet a few days ahead by email. It should cover the meeting point, start and end times, expected distance and terrain, and what to bring. Ask them to tell you by phone conversation about mobility needs, allergies, and medical conditions in advance so you can adjust the plan.
A basic packing list covers most hikes:
- Closed, sturdy shoes and clothing in layers
- Enough water for the whole hike
- Sun protection and, where needed, insect protection
- A small bag for any trash, including food scraps
- A snack, a notebook, and binoculars if available
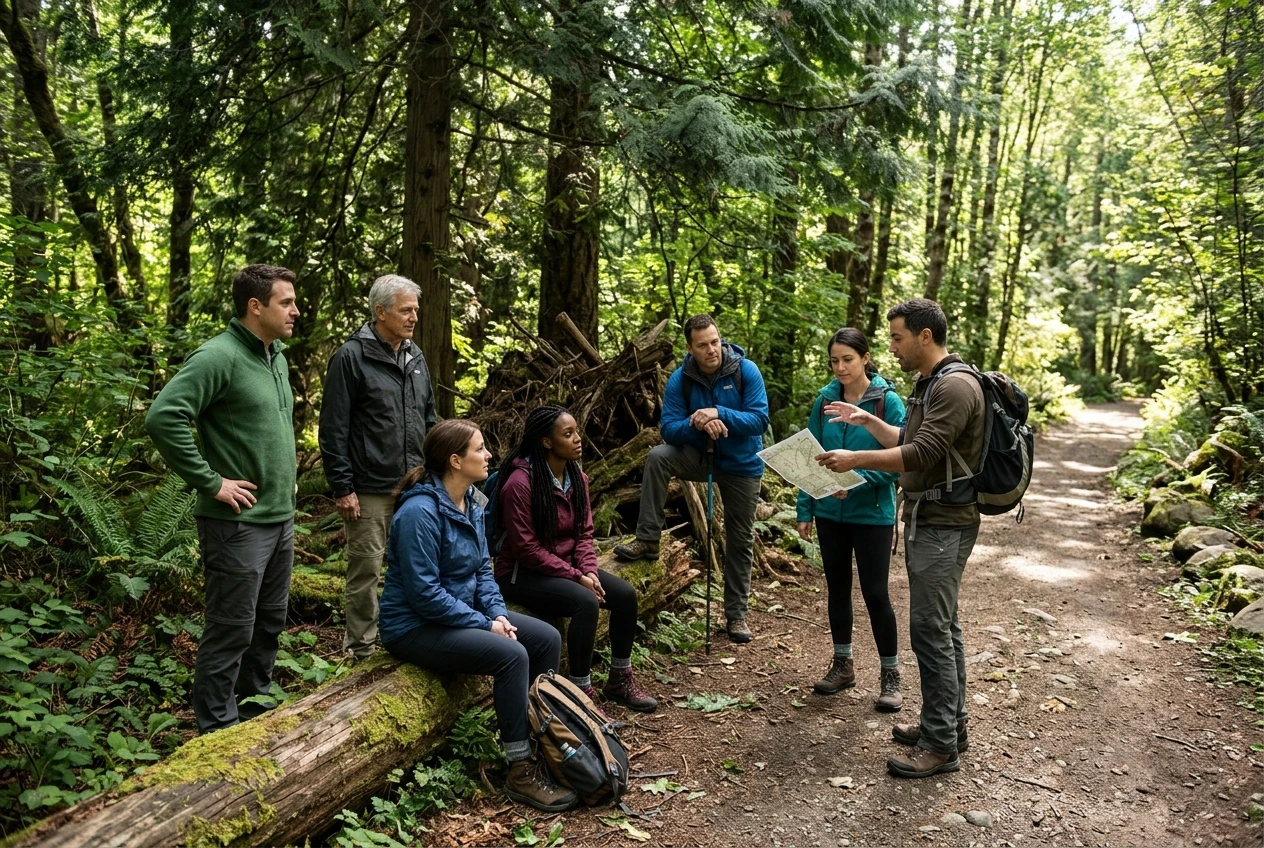
Open the hike with a five-minute briefing at the trailhead. Introduce the purpose, describe the route, and explain the expectations for behavior. The Leave No Trace principles are a widely used framework for this: plan ahead, stay on trail, dispose of waste properly, leave what you find, respect wildlife, and be considerate of other visitors. Pick the ones most relevant to your route and explain the reason for each in a sentence, since people follow rules more reliably when they understand them.
Assign simple roles. One adult at the front sets the pace, and another at the back makes sure no one is left behind. With children, give older ones jobs such as tracking the time, carrying the trash bag, or noting wildlife sightings to keep them constructively occupied.

Protecting Wildlife and Natural Habitats
Fifth, responsible behavior on the trail comes down to a few consistent habits. Stay on the marked path, even when it is muddy, because walking around wet spots widens the trail and damages plants at its edges. Keep voices low so animals are not startled and so participants can hear what is around them.
Watch animals from a distance. If an animal changes its behavior because of the group, such as stopping feeding, raising its head, or moving away, the group is too close. Back off and respectfully give the animal space. Never feed wildlife. Human-provided food can harm animals and teach them to associate people with food.
Leave natural objects where they are. Rocks, shells, feathers, flowers, and nests all have roles in the ecosystem, and a single taken item multiplied across many visitors adds up. Photographs and sketches let people take the experience without taking the object. If you photograph wildlife, the guidance in eco-friendly wildlife photography gear covers choices that reduce disturbance.
Pack out everything you bring, including fruit peels and tissues. Before leaving each stop, take a quick look around the group’s footprint. If you find litter from earlier visitors and it is safe to pick up, doing so shows participants what stewardship includes.
Reflecting on the Experience
Sixth, the hike is not finished when the group returns to the cars. A short reflection at the end turns a pleasant walk into something people remember and act on. Gather everyone in a shaded or sheltered spot and ask a few open questions:
What was the most surprising thing you saw or heard?
What did you learn about how this habitat works?
What could we do to protect a place like this?
Encourage participants to record their observations in a notebook or on a shared list. Species sightings, weather, and the condition of the trail are all useful details, and recording them over repeated visits shows how a place changes through the seasons. Observations can also contribute to citizen science projects, and bird tracking tools and techniques are a good starting point for groups interested in that.
Follow up within a week. Send participants a summary of what the group saw, a link or two for further reading, and one practical action they can take at home, such as volunteering at a local park or participating in a community conservation project. A concrete next step connects the hike to good stewardship practices.
A Simple Sample Itinerary for a Two-Hour Hike
Seventh, this schedule suits a group of about four to seven people on an easy loop of roughly two miles. Adjust the timing to your group’s pace and the length of your route.
Time & Activity
Meet at the Trailhead
0:00 to 0:15
Check in participants, give the safety and stewardship briefing, assign roles
Walk the First Part
0:15 to 0:40
Take an easy pace, with a short stop to listen for birds and insects
Observation Stops
0:40 to 1:05
At two to four habitats take time for questions, sketching, and note-taking
Rest Break
1:05 to 1:20
At designated areas off the trail: water, snacks, restroom if available
Walk the Return Trail
1:20 to 1:40
Take one final stop focused on tracks, signs, or plant life
Reflection Moment
1:40 to 2:00
Back at the start: share observations, discuss questions, and name one action to take
Build flexibility into the schedule. If the group finds something worth more time, such as a heron hunting or a stand of wildflowers, shorten another stop instead of rushing people. Plan the turnaround time in advance and keep to it, so the hike ends on schedule even when it runs slow.
Final Thoughts
Planning a small-group nature hike well means treating the trail as a place to be looked after, appreciated, and understood. Choose a route that suits the group and the habitat, teach from what is in front of you, set clear expectations, and finish with a reflection that gives people a reason to protect what they saw.